
Introduction to Photo Borders in Adobe
Adding a border to a photograph can decorate its visual attraction, making it stand out for displays, portfolios, or social media. Adobe offers effective tools to attain this with precision and creativity. Using Adobe software program, users can create easy, expert borders that complement their snap shots.
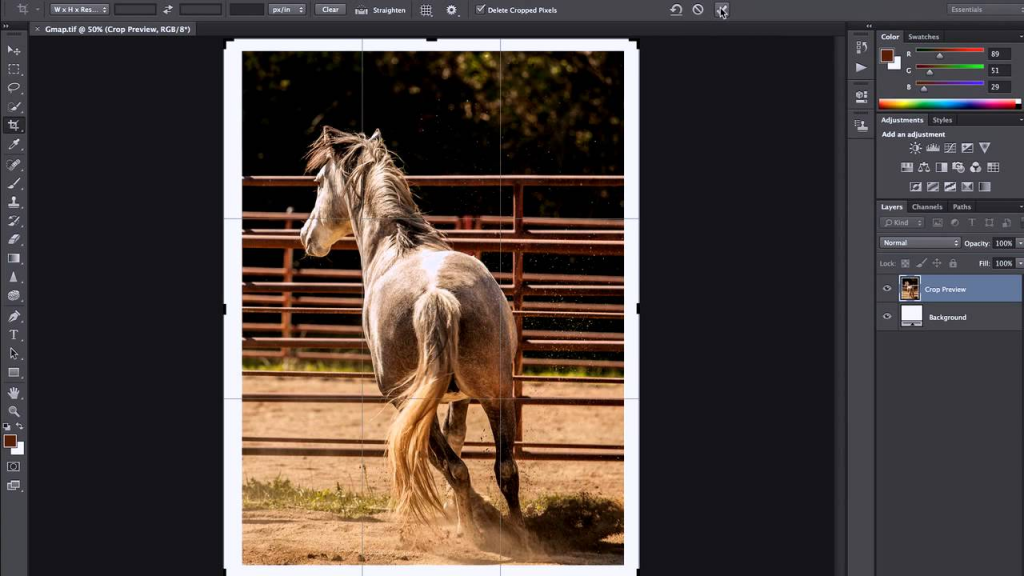
Using Adobe Photoshop to Add a Border
Adobe Photoshop is a versatile tool for including borders to pictures. Start through commencing your image in Photoshop. Select the “Canvas Size” option from the “Image” menu. Increase the canvas dimensions by means of adding the preferred border width, consisting of 0.Five inches, to both top and width. Choose a shade to add border to photo with the aid of deciding on a history color in the conversation container. Confirm the changes, and the border appears around the picture. For extra customization, use the “Stroke” effect underneath “Layer Style.” Adjust the stroke size, colour, and position to create a completely unique border. Save the report in your preferred layout, like JPEG or PNG, to hold the new border.
Creating Borders with Adobe Lightroom
Adobe Lightroom presents a straightforward manner to add borders, specially for photographers coping with multiple photos. Open the picture within the “Develop” module. Navigate to the “Print” module to get right of entry to border options. In the “Image Settings” panel, permit the “Stroke Border” choice. Adjust the slider to set the border width and choose a color via clicking the coloration container. Lightroom applies the border uniformly across the photo. This technique is good for growing simple borders with out great modifying. Export the image to save the modifications, making sure the border is protected within the final output.
Advanced Border Customization in Photoshop
For greater complex borders, Photoshop gives advanced tools. After adding a simple border thru “Canvas Size,” create a new layer for additional border results. Use the “Rectangle Tool” to draw a border shape around the photo. Customize the shape with hues, gradients, or patterns via the “Properties” panel. Apply effects like drop shadows or internal glows from the “Layer Style” menu to decorate the border’s appearance. This approach lets in for innovative designs, including double borders or textured frames. Merge layers and save the photograph to finalize the design.
Benefits of Adding Borders in Adobe
Using Adobe gear to add borders ensures incredible consequences with professional polish. Photoshop’s flexibility allows for exact customization, while Lightroom’s streamlined procedure suits batch enhancing. Both packages provide unique manage over border length, colour, and fashion, ensuring the border enhances the image with out overpowering it. These gear are perfect for photographers, designers, and entrepreneurs aiming to elevate their visuals.
Conclusion
Adobe Photoshop and Lightroom offer powerful answers for adding borders to pictures. Whether you need a simple body or a complicated layout, these equipment provide the functionality to acquire your vision. By following truthful steps, users can create borders that enhance their photos for any cause, from private initiatives to expert portfolios.